1. Intro
In this guide, you will learn to handle the HTML Form using the Spring WebFlux Functional approach in Java. You will also learn a few important concepts related to HTML Form processing in Spring Webflux Functional.
2. Dependencies
The following tools & libraries are used and tested for the given source code:
- Spring Boot v 2.1.9.RELEASE
- Spring Framework v 5.1.10RELEASE (Comes with mentioned Spring Boot version)
- Netty non-blocking server v 4.1.39FINAL (embedded)
- Thymleaf v 3.0.11.RELEASE template engine
Source code is available on GitHub for clone and download.
3. Sample Requirement - Employee Data
3.1 Create an HTML form to capture employee Details
 |
| Employee Data Capture Form (GET http://localhost:8080/form ) |
3.2 Display captured employee data.
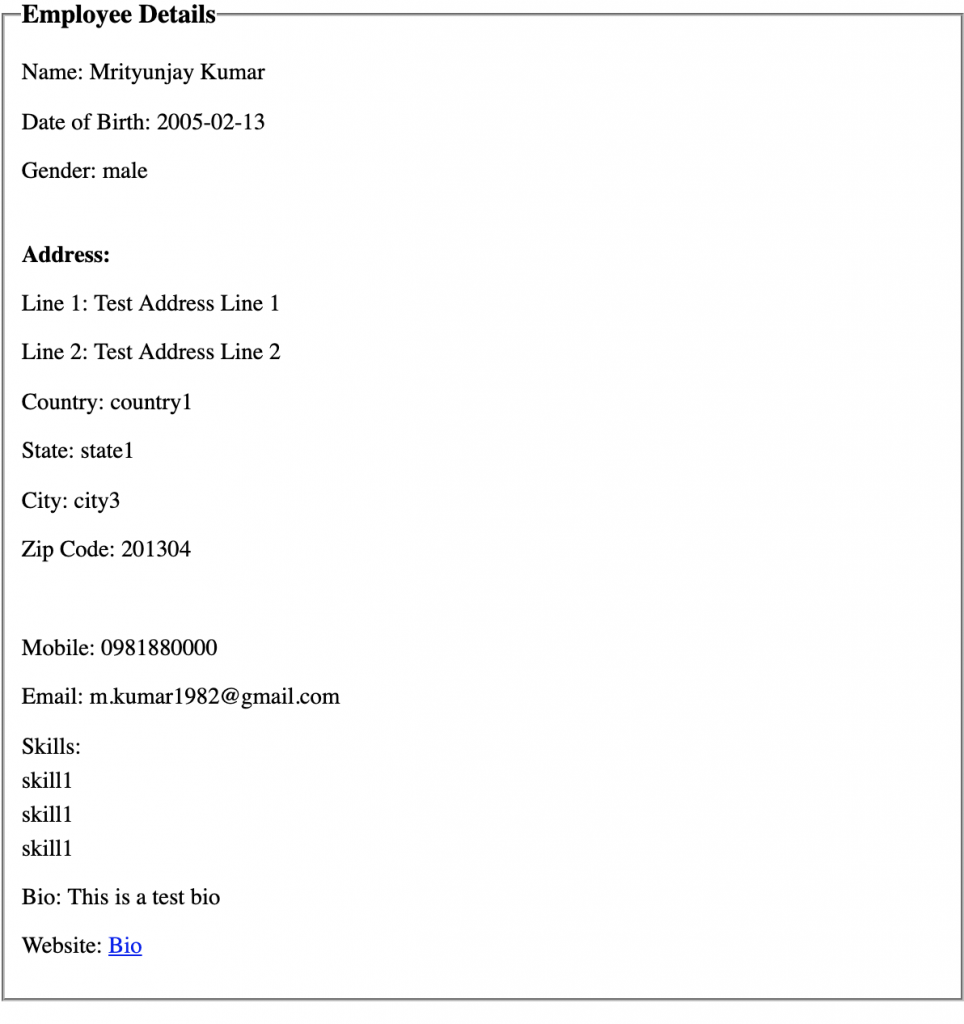 |
| HTML Page to display captured Employee Data (POST http://localhost:8080/form) |
4. HTML Form concepts for Spring WebFlux Functional
In Spring WebFlux, FormHttpMessageReader & FormHttpMessageWriter decodes and encodes "application/x-www-form-urlencoded" request & response.
ServerRequest.formData() parse the Form data from the body using FormHttpMessageReader and caches the result for repeated use. After the first invocation of formData() the body, the original raw content is no more available in the request body. In subsequent call ServerRequest.formData() provide form data from cache.
While using ServerRequest.body(BodyExtractors.toFormData()) to get the form data we can get empty Mono<MultiValueMap<String, String>> if form data is already parsed from the body, resulting in the unavailability of raw content. Hence use ServerRequest.formData(), which has access to cached form data.
Remember, In the case of JSON content type when we use BodyExtractors the method like toMono() or toFlux(), we always get the desired object. We can swap them with ServerRequest methods bodyToMono() and bodyToFlux() without any problem.
FormHttpMessageReader comes with a maximum number of bytes to buffer in memory, You can configure maxInMemorySize at ServerCodecConfigurer. ServerCodecConfigurer is responsible for the configuration of all codecs.
@Configuration
@EnableWebFlux
public class WebConfig implements WebFluxConfigurer {

    @Override
    public void configureHttpMessageCodecs(ServerCodecConfigurer configurer) {
        // ...configurations
    }
}
In general, avoid using Spring WebFlux for application which has several HTML Forms because of the lack of automatic mapping of form data to the model. You have to write a utility method to convert Mono<MultiValueMap<String, String>> it into a model.
These findings are based on Spring Boot v 2.1.9 and Spring v 5.1.10.
5. Implementation Approach
- Define
Employeemodel. - Create
AppRouteRoute class and define two routes:- GET /form - Display employee data input form
- POST /form - Display employee data
- Create a
FormHandlerhandler class to handle the above-defined routes. - Create two ThymLeaf based HTML files:
- input-employee-data-form.html
- display-employee-data.html
- Use
ServerRequest.formData()method to get Form data inMono<MultiValueMap<String, String>>. - Convert
Mono<MultiValueMap<String, String>>form data to Employee objects using a utility method.
6. Model - Employee.java
package org.geekmj.springwebfluxform.model;

import java.util.List;

import lombok.Data;

@Data
public class Employee {

	private String name;
	private String dateOfBirth;
	private String gender;
	private String addressLine1;
	private String addressLine2;
	private String country;
	private String state;
	private String city;
	private String zipCode;
	private String mobile;
	private String email;
	private List<String> skills;
	private String biography;
	private String website;
}
7. Route - AppRoute.java
package org.geekmj.springwebfluxform.route;

import static org.springframework.web.reactive.function.server.RequestPredicates.accept;

import org.geekmj.springwebfluxform.route.handler.FormHandler;
import org.springframework.context.annotation.Bean;
import org.springframework.context.annotation.Configuration;
import org.springframework.http.MediaType;
import org.springframework.web.reactive.function.server.RouterFunction;
import org.springframework.web.reactive.function.server.RouterFunctions;
import org.springframework.web.reactive.function.server.ServerResponse;

@Configuration
public class AppRoute {

	@Bean
	public RouterFunction<ServerResponse> route(FormHandler formHandler) {

		return RouterFunctions.route()
				.GET("/form", formHandler::sampleForm)
				.POST("/form", accept(MediaType.APPLICATION_FORM_URLENCODED), formHandler::displayFormData)
				.build();
	}
}
You define two routes as mentioned earlier. It is self-explanatory.
8. Handler - FormHandler.java
package org.geekmj.springwebfluxform.route.handler;

import static org.geekmj.springwebfluxform.constant.AppConstant.*;

import org.geekmj.springwebfluxform.model.Employee;
import org.springframework.stereotype.Component;
import org.springframework.util.MultiValueMap;
import org.springframework.web.reactive.function.server.ServerRequest;
import org.springframework.web.reactive.function.server.ServerResponse;

import reactor.core.publisher.Mono;

@Component
public class FormHandler {

	public Mono<ServerResponse> sampleForm(ServerRequest request) {

		return ServerResponse.ok().render(FORM);
	}

	public Mono<ServerResponse> displayFormData(ServerRequest request) {

		Mono<MultiValueMap<String, String>> formData = request.formData();

		// BodyExtractor based. It didn't result any value for our program
		// It looks any earlier piece of code (Filter ?) already accessed the body
		// making it empty.

		// Mono<MultiValueMap<String, String>> formData = request.body(BodyExtractors.toFormData());

		return ServerResponse.ok().render(DISPLAY_FORM_DATA, formDataToEmployee(formData));
	}

	private Employee formDataToEmployee(Mono<MultiValueMap<String, String>> formData) {

		Employee employee = new Employee();

		formData.subscribe(formDatamap -> {
			employee.setName(formDatamap.get(NAME).get(0));
			employee.setDateOfBirth(formDatamap.getFirst(DATE_OF_BIRTH));
			employee.setGender(formDatamap.getFirst(GENDER));
			employee.setAddressLine1(formDatamap.getFirst(ADDRESS_LINE_1));
			employee.setAddressLine2(formDatamap.getFirst(ADDRESS_LINE_2));
			employee.setCountry(formDatamap.getFirst(COUNTRY));
			employee.setState(formDatamap.getFirst(STATE));
			employee.setCity(formDatamap.getFirst(CITY));
			employee.setZipCode(formDatamap.getFirst(ZIP_CODE));
			employee.setMobile(formDatamap.getFirst(MOBILE));
			employee.setEmail(formDatamap.getFirst(EMAIL));
			employee.setSkills(formDatamap.get(SKILLS));
			employee.setWebsite(formDatamap.getFirst(WEBSITE));
			employee.setBiography(formDatamap.getFirst(BIOGRAPHY));
		});

		return employee;
	}
}
You define two methods in the handler for two routes.
In displayFormData() method, you used request.formData() for extracting form data into MultiValueMap. You create formDataToEmployee(..) method for converting MultiValueMap into Employee Data Model. Further ThymLeaf HTML template uses the Employee model to display the data entered by you using the Employee form.
9. Thymleaf - Templates
Please checkout the source code for two templates on GitHub. We are leaving them for brevity.
- input-employee-data-form.html
- display-employee-data.html
10. Summary
In this guide, we learned about the handling of content type ("application/x-www-form-urlencoded") by Spring WebFlux Functional. How the encoding and decoding of body contents are carried out? What are a few caveats?
The source code for this guide is available on GitHub.
11. References
- Official Spring WebFlux Functional documentation
- GitHub Source Code For This Guide
- BodyExtractors.toFormData() API documentation
- ServerRequest.formData() API documentation
- API Documentation For FormHttpMessageReader
- API Documentation For FormHttpMessageWriter
- ServerRequest.bodyToMono API documentation
- GitHub Source Code For This Guide
Comments
Post a Comment